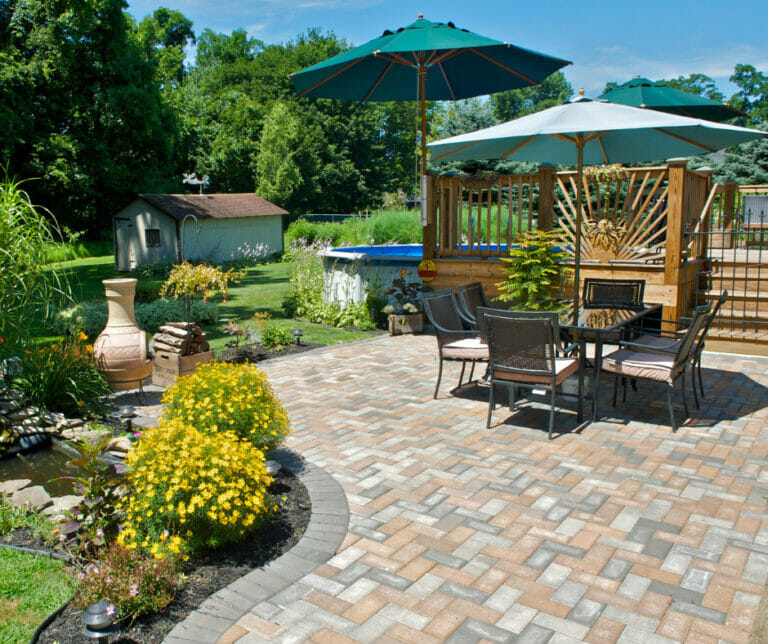
New to patio cleaning and thought you’d have a go. Or you bought a new pressure washer in the sales and thought you’d take it for a spin! Before you run full steam ahead, I’ve done a little research to help… this is a beginner’s guide to pressure washing your patio and limiting damage.
Spring has nearly sprung, and I know how eager we all are to start prepping our outdoor features. My first task is always my patio. However, working with Art of Clean, I have learnt that if you do it wrong, you can do more harm than good… replacing a patio isn’t cheap, so follow these “Five tips to jest washing your patio” and “steps to cleaning your patio with limited damage”.
I will section the five Tips to jet washing your patio like this – “Appropriate clothing, Safety, Removal of all pots, garden furniture and ornaments, sweep time, and time to test the jet washers power“. You can head to whichever one you need to, and I will add a “short video to show you our process“… sometimes a visual help to do your own. There will also be “links to pages you can buy or hire jet washers”.
Five tips to power washing your patio and limit the damage to surroundings:
-
Tip one – Appropriate clothing.
I have seen how wet our technicians can get from just one patio cleaned with waterproofs… I highly recommend getting some! The pressure from your jet washer hitting your patio will spray all over the place, and you will get soaked and become covered in dirt and grime.
-
Tip two – Safety.
Always protect your eyes when using a jet wash on your patio or driveway. Water won’t always be the only thing they get sprayed around. Even though you swept before, they may still be the odd rogue stone… if it flies up and hits you in the eye, you may end up with a hospital trip before you even finish what you started. Worst case scenario, you end up blind… not worth it, right? Wear eye protection!
-
Tip three – Removal of all pots, garden furniture and ornaments.
The spray back from using a power wash can travel for many metres at a time… removing the pot, garden furniture, and ornaments will mean they don’t get covered in mud.
If you can’t move an item for any reason, cover it as best as possible. In the long run, you will thank me… you don’t want to do more cleaning for yourself when moving them out of the way is an option. (I wish you could move windows, or I had known to cover it… ha-ha)
-
Tip 4 – Sweep time.
Always get into the routine of sweeping your patio before using a jet wash. You want to remove as much dirt and stones as you can. The debris from the spray could damage not just your eyes but windows too… my husband would kill me if one flew up at his greenhouse, so I won’t miss this tip!
-
Tip 5 – Always test the power washers power.
I wouldn’t have even thought to test the power and judge what you need to do first… but it’s probably the best tip so far! (After the safety!)
Find an area out of the way… corners are the best place if you can. Start at the lowest setting. 1,200 PSI would be the best way to start. If you need a bit more pressure, don’t go any higher than 1,500 PSI. The higher you go, there is more risk of damage.
Spray the area out of the way and test how the pressure feels before you move on to other areas.
Steps to pressure washing your patio:
-
First Step – Prep to clean:
Clear your patio of everything… meaning you will need to clear all big furniture and pot plants, anything you can move. Then you will need to sweep the dirt, loose leaves and debris.
-
Second Step – Getting the pressure washer ready:
Connect your washer to your garden hose and water supply. Pull the trigger and make sure the water flows for a few seconds. Plug into the mains, and you’re ready for the next step. Your machine should have attachments, and you will be using them all.
-
Third Step – Start the cleaning.
If you use a pressure washer cleaning solution, now would be the time to wet your patio and apply it. This isn’t always needed but can help lift stubborn stains and dirt.
If not, fix your pressure to at least 1,200 and less than 1,700 PSI. Start in a corner with your washer at about a 45-degree angle and sweep the spray across.
-
Fourth Step – Time for the lance
Time to rinse and clean. Go easy on the lines and joints while you sweep across… If you use the wrong technique or too high a pressure. If you blast the sand out, you risk causing stability issues later. Be sure to switch to intense lancing modes if you need to attack tougher algae, lichen, and moss.
If you need clarification, ask your specialist patio cleaner for help.
-
Fifth Step – pack away time.
Once you’ve finished cleaning, switch off and disconnect your Jet washer from the water mains. After that, turn it back on and pump the trigger to get any water left in the machine. Pack away and leave your patio to dry thoroughly – and there you go, the job is done!
Links to pages you can hire or buy a pressure washer:
B&Q – https://www.diy.com/search?term=jet+washer
Homebase – https://www.homebase.co.uk/garden-outdoor/garden-tools/pressure-washers.list?
Screwfix – https://www.screwfix.com/c/auto-cleaning/pressure-washers/cat810150
Toolstation – https://www.toolstation.com/cleaning-pest-control/pressure-washers/c751
Here is a short video of our process:
To find a company for you:
Reviews about patio and driveway cleaning:
 Written and edited by Tracey Gilbey, Marketing and Admin Coordinator at Art of Clean.
For further advice or information on our Carpet and Soft Furnishing care, please do not hesitate to contact the Art of Clean team on 01223 901551 in Cambridge. Our services include Carpet Cleaning, Upholstery Cleaning, oriental and area Rug Cleaning, Curtain Cleaning, Patio, and Driveway Pressure washing, Leather Cleaning, Stone and Tile Floor Cleaning, and Wood Floor Sanding and Restoration. We also supply new flooring and carpets through our sister company Art of Flooring. Our Dry-Cleaning service is provided by Farthings Cambridge

